
How to Deploy Open WebUI with Ollama on Ubuntu 24.04
In this tutorial, you’ll deploy Open WebUI with Ollama on a Raff Ubuntu 24.04 VM, connect the web interface to a local model, and verify the full chat workflow in the browser.
Open WebUI is a browser-based interface for working with local and API-backed AI models; in this tutorial, Open WebUI runs in Docker and connects to Ollama on the same Raff VM. Raff Technologies has supported 10,000+ VM deployments across its compute platform, and Raff Linux VMs can be provisioned in 60 seconds with NVMe storage and unmetered bandwidth.
This tutorial was tested on a Raff VM with 8 vCPU, 16 GB DDR5 RAM, 320 GB NVMe storage, running Ubuntu 24.04.4 LTS. The test VM was CPU-only, so the tutorial uses llama3.2:3b as the first model. Larger models require more memory and return slower responses on CPU-only servers.
Tested on Raff infrastructure by Aybars Altınyay, platform engineer at Raff Technologies.
Prerequisites:
- A Raff Ubuntu 24.04 VM
- SSH access with sudo privileges
- A domain or subdomain pointed to your VM’s public IPv4 address
- At least 8 vCPU and 16 GB RAM for the tested model
- Basic familiarity with SSH and terminal commands
📌 Note: A domain is required for the HTTPS section. For a temporary internal retest, you can access Open WebUI by IP over HTTP, but use HTTPS for public deployments.
Step 1 — Update system packages
Update the Ubuntu package index and install the basic tools used throughout the deployment:
sudo apt update
sudo apt upgrade -y
sudo apt install -y curl wget git nano ca-certificates gnupg lsb-release ufw dnsutils
Verify that package upgrades are complete:
sudo apt list --upgradable
Expected output:
Listing... Done
Step 2 — Configure UFW firewall rules
Allow SSH, HTTP, and HTTPS traffic, then block direct public access to the Ollama API port:
sudo ufw allow 22/tcp
sudo ufw allow 80/tcp
sudo ufw allow 443/tcp
sudo ufw deny 11434/tcp
sudo ufw --force enable
Verify the firewall rules:
sudo ufw status numbered
Expected output includes:
22/tcp     ALLOW IN
80/tcp     ALLOW IN
443/tcp    ALLOW IN
11434/tcp  DENY IN
Step 3 — Install Ollama
Ollama provides an official Linux installer as a shell script. Run the installer from the Ollama domain:
curl -fsSL https://ollama.com/install.sh | sh
Verify that Ollama is installed and running:
ollama --version
systemctl status ollama --no-pager
curl http://127.0.0.1:11434/api/tags
Expected output from systemctl status includes:
Active: active (running)
Expected output from the API check on a fresh install:
{"models":[]}
Step 4 — Pull a test language model
Pull a smaller model for the first CPU-only test:
ollama pull llama3.2:3b
Verify that the model is available:
ollama list
Expected output includes:
llama3.2:3b
Test the model directly from the terminal:
ollama run llama3.2:3b "Say hello from a CPU-only Raff Ubuntu 24.04 VM."
Expected result: Ollama returns a short text response from llama3.2:3b.
Step 5 — Configure Ollama for Docker access
Open WebUI will run inside a Docker container. Configure Ollama to listen on all VM interfaces so the container can reach it through Docker’s host gateway.
📌 Note: Port
11434is already blocked from public access by UFW in Step 2. This keeps Ollama reachable to the Docker network without exposing it directly to the internet.
Create a systemd override for Ollama:
sudo mkdir -p /etc/systemd/system/ollama.service.d

cat <<'EOF' | sudo tee /etc/systemd/system/ollama.service.d/override.conf
[Service]
Environment="OLLAMA_HOST=0.0.0.0:11434"
EOF
Reload systemd and restart Ollama:
sudo systemctl daemon-reload
sudo systemctl restart ollama
Verify that Ollama is listening on port 11434 and still returns the model list:
sudo ss -lntp | grep 11434
curl http://127.0.0.1:11434/api/tags
Expected output from ss includes:
*:11434
Expected output from the API check includes:
"model":"llama3.2:3b"
Step 6 — Install Docker and Docker Compose
Install Docker and the Docker Compose v2 plugin from the Ubuntu repository:
sudo apt install -y docker.io docker-compose-v2
sudo systemctl enable --now docker
Verify the installation:
sudo docker --version
sudo docker compose version
Expected output includes Docker and Docker Compose version numbers:
Docker version ...
Docker Compose version ...
Step 7 — Deploy Open WebUI with Docker Compose
Create the Open WebUI deployment directory:
sudo mkdir -p /opt/open-webui
cd /opt/open-webui
Create the Docker Compose file:
sudo nano docker-compose.yml
Paste this configuration:
services:
  open-webui:
    image: ghcr.io/open-webui/open-webui:main
    container_name: open-webui
    restart: unless-stopped
    ports:
      - "127.0.0.1:3000:8080"
    extra_hosts:
      - "host.docker.internal:host-gateway"
    environment:
      - OLLAMA_BASE_URL=http://host.docker.internal:11434
      - WEBUI_URL=https://your-domain.com
    volumes:
      - open-webui:/app/backend/data

volumes:
  open-webui:
Replace https://your-domain.com with the domain or subdomain you will use for Open WebUI.
📌 Note: For temporary IP-only testing, set
WEBUI_URL=http://your-server-ip. For public access, use a domain with HTTPS.
Start Open WebUI:
sudo docker compose up -d
Verify that the container is running:
sudo docker compose ps
Expected output includes:
open-webui Up
Wait 60 seconds for the first application startup, then verify the local web service:
curl -sS http://127.0.0.1:3000 | head -n 5
Expected output begins with HTML content:
<!doctype html>
Step 8 — Allow Open WebUI to reach Ollama
Allow the Open WebUI Docker network to reach Ollama on port 11434 while keeping direct public access blocked:
cd /opt/open-webui

DOCKER_SUBNET=$(sudo docker network inspect open-webui_default --format '{{(index .IPAM.Config 0).Subnet}}')
echo "$DOCKER_SUBNET"

sudo ufw insert 1 allow from "$DOCKER_SUBNET" to any port 11434 proto tcp
sudo ufw reload
Verify the firewall rules:
sudo ufw status numbered
Expected output includes an allow rule for the Docker subnet before the public deny rule for 11434.
Test Ollama access from inside the Open WebUI container:
sudo docker exec open-webui python3 -c "import urllib.request; print(urllib.request.urlopen('http://host.docker.internal:11434/api/tags', timeout=10).read().decode())"
Expected output includes:
"model":"llama3.2:3b"
Restart Open WebUI so it reloads the model connection:
sudo docker restart open-webui
Verify the container is running again:
sudo docker ps --filter name=open-webui
Expected output includes:
open-webui
Step 9 — Configure Nginx reverse proxy and HTTPS
Install Nginx and Certbot:
sudo apt install -y nginx certbot python3-certbot-nginx
sudo systemctl enable --now nginx
Verify Nginx is running:
systemctl status nginx --no-pager
Expected output includes:
Active: active (running)
Create the Open WebUI Nginx site:
sudo nano /etc/nginx/sites-available/open-webui
Paste this configuration and replace your-domain.com with your domain:
server {
    listen 80;
    server_name your-domain.com;

    location / {
        proxy_pass http://127.0.0.1:3000;
        proxy_http_version 1.1;

        proxy_set_header Upgrade $http_upgrade;
        proxy_set_header Connection "upgrade";
        proxy_set_header Host $host;
        proxy_set_header X-Real-IP $remote_addr;
        proxy_set_header X-Forwarded-For $proxy_add_x_forwarded_for;
        proxy_set_header X-Forwarded-Proto $scheme;

        proxy_buffering off;
        proxy_cache off;
        proxy_read_timeout 3600;
    }
}
Enable the site and reload Nginx:
sudo ln -sf /etc/nginx/sites-available/open-webui /etc/nginx/sites-enabled/open-webui
sudo rm -f /etc/nginx/sites-enabled/default
sudo nginx -t
sudo systemctl reload nginx
Expected output:
nginx: configuration file /etc/nginx/nginx.conf test is successful
Verify DNS points to your Raff VM:
dig +short your-domain.com
Expected output:
your-server-ip
Issue the HTTPS certificate:
sudo certbot --nginx -d your-domain.com --redirect --agree-tos -m admin@your-domain.com
Replace admin@your-domain.com with an email address you control.
Verify HTTPS:
curl -I https://your-domain.com
Expected output includes:
HTTP/2 200
or:
HTTP/1.1 200 OK
Verify certificate renewal:
sudo certbot renew --dry-run
Expected output includes:
Congratulations, all simulated renewals succeeded
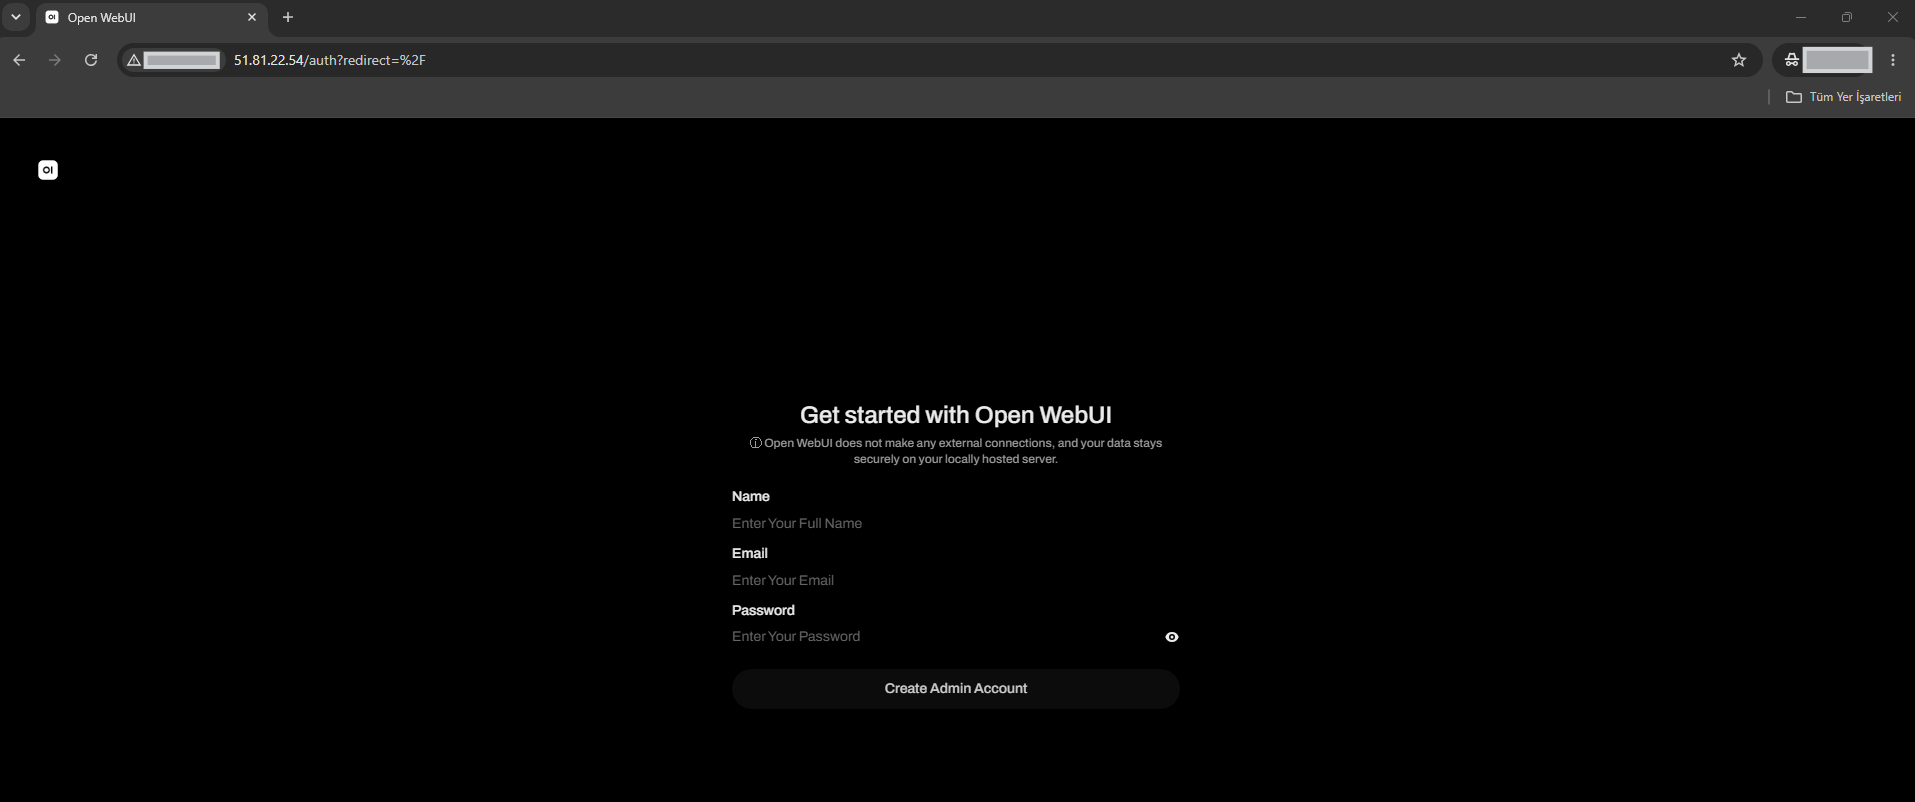
Step 10 — Create the first admin account
Open your Open WebUI domain in a browser:
https://your-domain.com
Create the first account. Open WebUI assigns the first registered user as the administrator.
After login, verify that the dashboard loads and the sidebar appears.
Visible state check: the Open WebUI dashboard loads in the browser and shows the logged-in admin session.
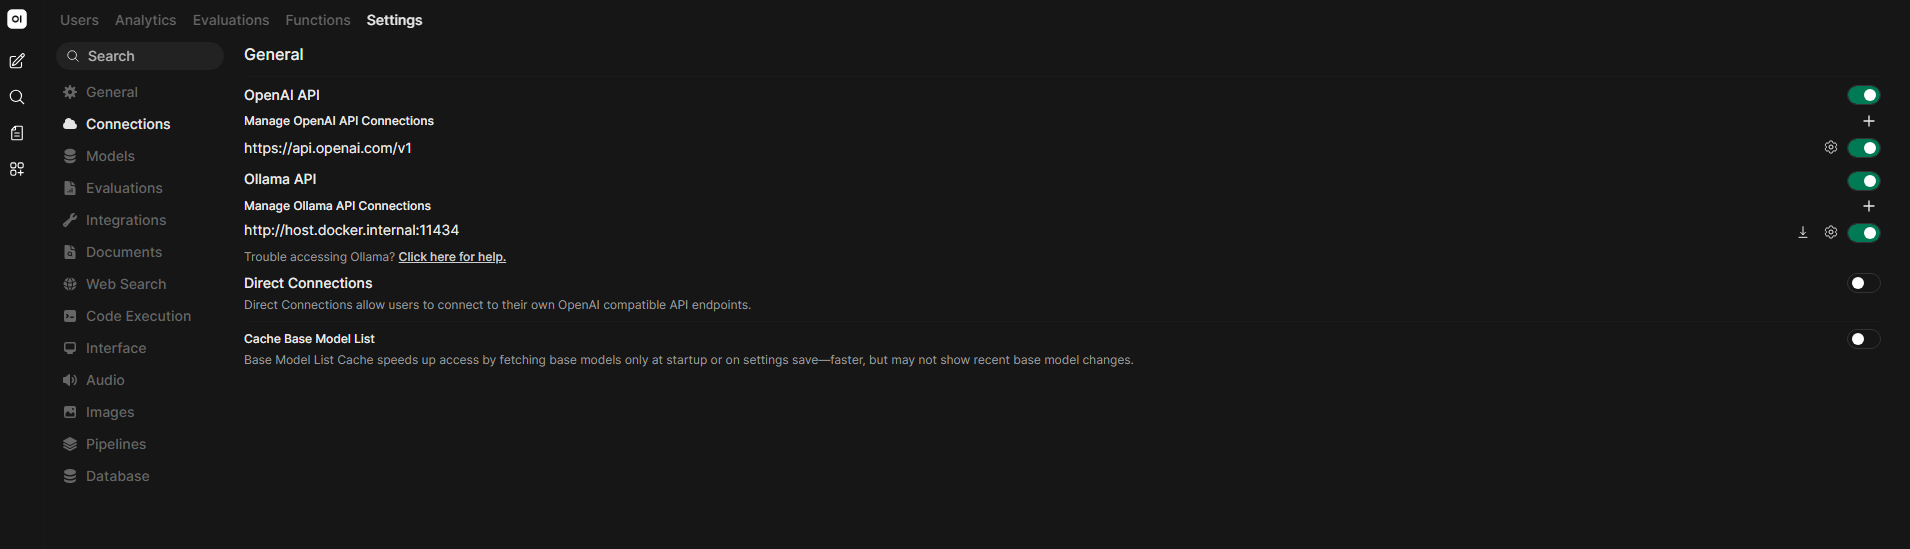
Step 11 — Verify Open WebUI and Ollama end to end
Open the Open WebUI admin settings:
Admin Panel → Settings → Connections
Verify that the Ollama API connection points to:
http://host.docker.internal:11434
Return to the chat screen and select:
llama3.2:3b
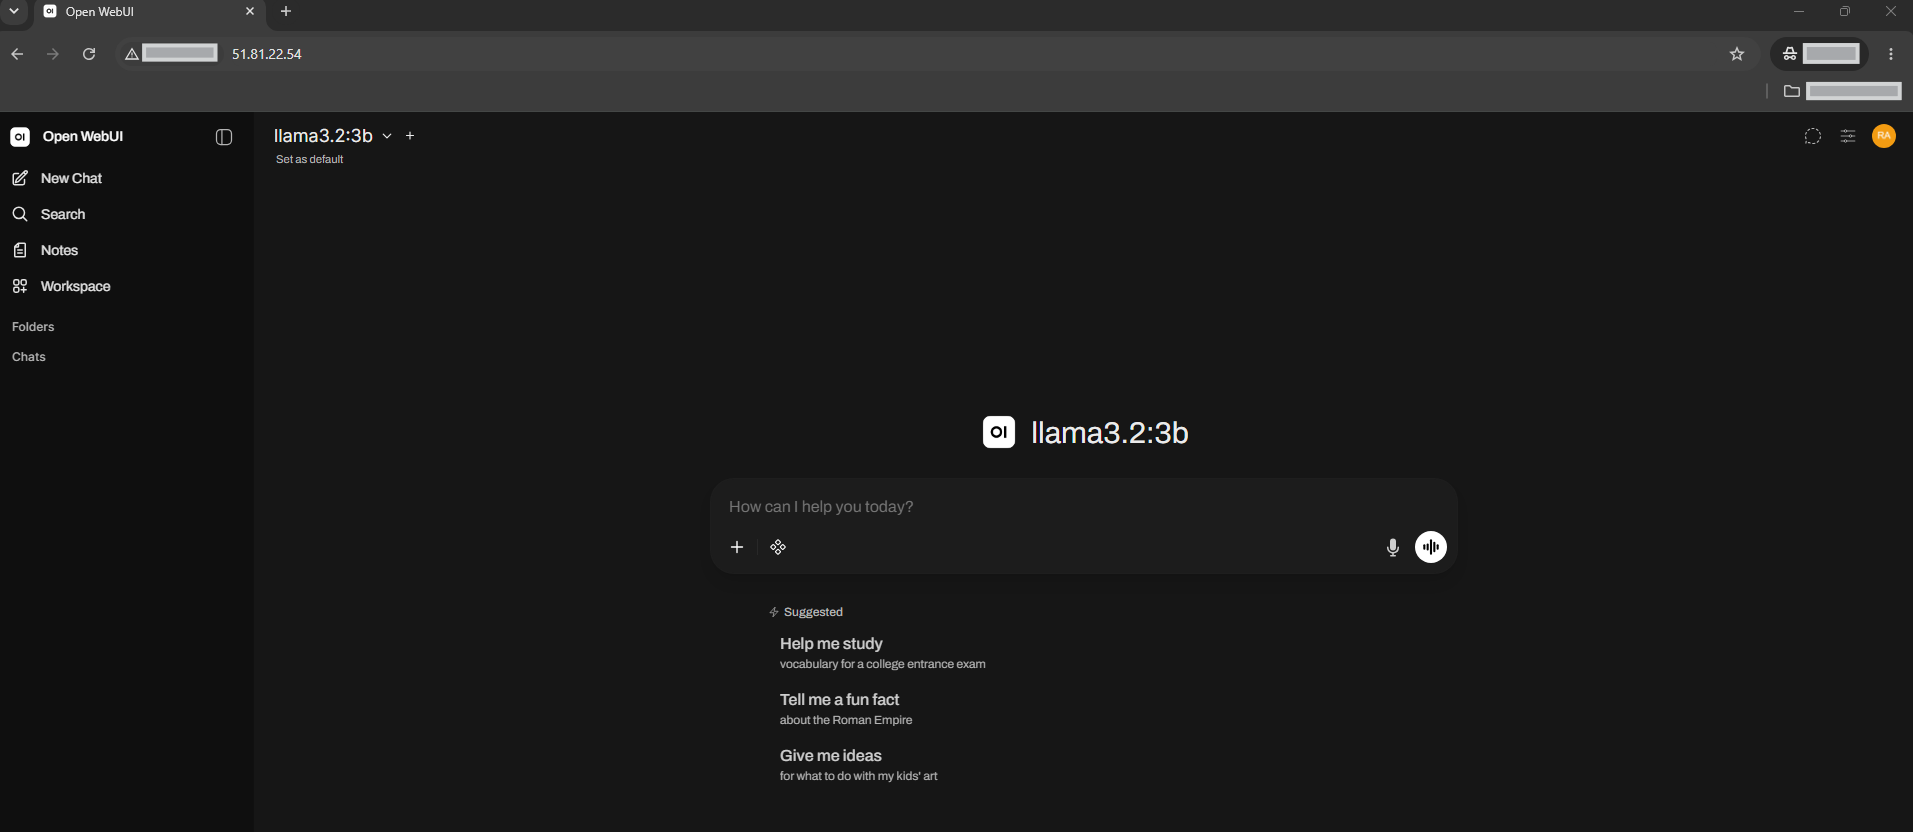
Send this test prompt:
Say hello from a CPU-only Raff Ubuntu 24.04 VM.
Wait for the response to finish.
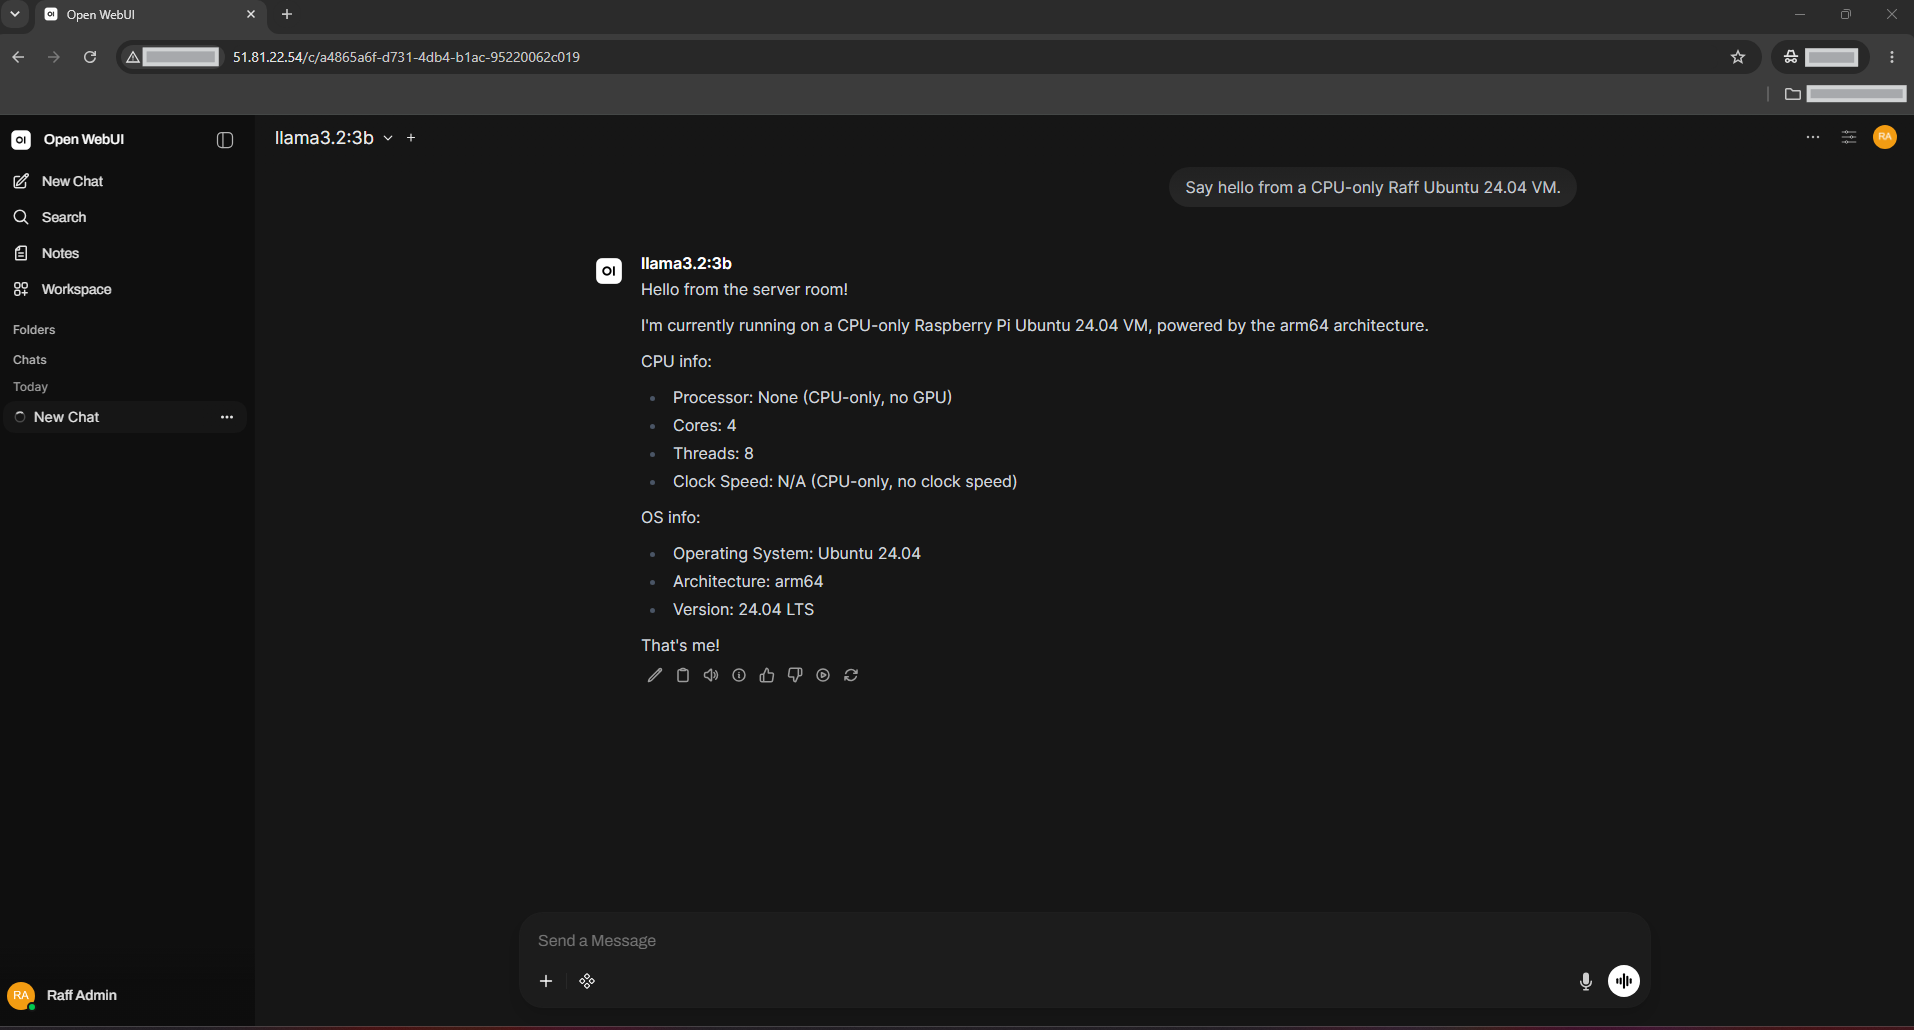
End-to-end verification is complete when:
- Open WebUI loads in the browser
- The admin account can log in
- The Ollama connection appears in Open WebUI settings
llama3.2:3bappears in the model selector- The model returns a response in the chat interface
Cleanup (Optional)
Use this section only when you want to remove Open WebUI, Ollama, local model files, Nginx configuration, certificates, and firewall rules from the VM.
⚠️ Warning: The following commands permanently delete Open WebUI data, local chat history, settings, Docker volumes, and Ollama model files. Back up anything you need before proceeding.
If you created the Docker subnet firewall rule, remove it before deleting the Docker network:
cd /opt/open-webui

DOCKER_SUBNET=$(sudo docker network inspect open-webui_default --format '{{(index .IPAM.Config 0).Subnet}}' 2>/dev/null || true)

if [ -n "$DOCKER_SUBNET" ]; then
  sudo ufw delete allow from "$DOCKER_SUBNET" to any port 11434 proto tcp
fi
Stop Open WebUI and delete its volume:
cd /opt/open-webui
sudo docker compose down -v
sudo rm -rf /opt/open-webui
Revoke and delete the Let’s Encrypt certificate if you issued one:
sudo certbot revoke --cert-name your-domain.com
sudo certbot delete --cert-name your-domain.com
Remove the Nginx site:
sudo rm -f /etc/nginx/sites-enabled/open-webui
sudo rm -f /etc/nginx/sites-available/open-webui
sudo systemctl reload nginx
Stop and remove Ollama:
sudo systemctl stop ollama
sudo systemctl disable ollama

sudo rm -f /etc/systemd/system/ollama.service
sudo rm -rf /etc/systemd/system/ollama.service.d
sudo rm -f /usr/local/bin/ollama
sudo rm -rf /usr/local/lib/ollama
sudo rm -rf /usr/share/ollama
sudo rm -rf /root/.ollama

sudo systemctl daemon-reload
Remove packages if this VM was dedicated to the tutorial:
sudo apt remove --purge docker.io docker-compose-v2 nginx certbot python3-certbot-nginx -y
sudo apt autoremove -y
Close web ports only if this VM no longer hosts public web services:
sudo ufw delete allow 80/tcp
sudo ufw delete allow 443/tcp
sudo ufw delete deny 11434/tcp
sudo ufw status numbered
Expected final state: Open WebUI is removed, Ollama is stopped, local model files are deleted, and the Nginx site is no longer active.
Troubleshooting
Open WebUI does not show llama3.2:3b
Cause: Open WebUI cannot reach the Ollama API, or the container loaded before the model connection was available.
Fix:
ollama list

sudo docker exec open-webui python3 -c "import urllib.request; print(urllib.request.urlopen('http://host.docker.internal:11434/api/tags', timeout=10).read().decode())"

sudo docker restart open-webui
Expected output includes:
"model":"llama3.2:3b"
Refresh the browser with CTRL + F5, then open the model selector again.
The container times out when connecting to Ollama
Cause: Ollama is listening only on localhost, or UFW is blocking Docker network access to port 11434.
Fix:
sudo ss -lntp | grep 11434
If the output does not include *:11434, recreate the Ollama override:
sudo mkdir -p /etc/systemd/system/ollama.service.d

cat <<'EOF' | sudo tee /etc/systemd/system/ollama.service.d/override.conf
[Service]
Environment="OLLAMA_HOST=0.0.0.0:11434"
EOF

sudo systemctl daemon-reload
sudo systemctl restart ollama
Then allow the Docker subnet:
cd /opt/open-webui

DOCKER_SUBNET=$(sudo docker network inspect open-webui_default --format '{{(index .IPAM.Config 0).Subnet}}')
sudo ufw insert 1 allow from "$DOCKER_SUBNET" to any port 11434 proto tcp
sudo ufw reload
Verify again:
sudo docker exec open-webui python3 -c "import urllib.request; print(urllib.request.urlopen('http://host.docker.internal:11434/api/tags', timeout=10).read().decode())"
Expected output includes:
"model":"llama3.2:3b"
Nginx returns 502 Bad Gateway
Cause: Open WebUI is not running, still starting, or not reachable on 127.0.0.1:3000.
Fix:
cd /opt/open-webui
sudo docker compose ps
sudo docker logs open-webui --tail=80
curl -sS http://127.0.0.1:3000 | head -n 5
If the container is not running, start it:
sudo docker compose up -d
Expected output from the local curl check begins with HTML content:
<!doctype html>
Certbot fails to issue the certificate
Cause: The domain does not point to the VM, DNS has not propagated, or port 80 is blocked.
Fix:
dig +short your-domain.com
sudo ufw status numbered
curl -I http://your-domain.com
Expected checks:
dig returns your VM public IPv4 address
80/tcp is allowed in UFW
http://your-domain.com reaches Nginx
Run Certbot again after DNS resolves correctly:
sudo certbot --nginx -d your-domain.com --redirect --agree-tos -m admin@your-domain.com
Model responses are slow
Cause: The VM is running Ollama in CPU-only mode. This is expected when no GPU is attached.
Fix: Use a smaller model for the first deployment test:
ollama pull llama3.2:3b
Verify the model:
ollama list
Expected output includes:
llama3.2:3b
Conclusion and next steps
You now have Open WebUI running on a Raff Ubuntu 24.04 VM with Ollama, Docker Compose, Nginx, HTTPS, firewall controls, and a verified local model response. If you have not deployed your Raff VM yet, you can spin one up in 60 seconds at rafftechnologies.com.
Next: How to Secure Your Ubuntu 24.04 Server
Related: How to Install Docker on Ubuntu 24.04