
In this tutorial, you’ll install Docker Engine on Ubuntu 24.04 from Docker’s official APT repository, install the Docker Compose and Buildx plugins, verify the service with hello-world, and run a practical Nginx container test.
Docker is a platform for building, shipping, and running applications in containers. A container packages an application with its dependencies while sharing the host operating system kernel, giving teams a repeatable deployment unit across development, staging, and production.
Raff supports more than 3,000 customers and 15,000 VMs in its us-east region. Raff Linux VMs provide KVM virtualization, full root access, NVMe storage, and 3 Gbps unmetered bandwidth for Docker workloads.
:::cluster kubernetes-container-infrastructure :::
Prerequisites:
- A Raff Ubuntu 24.04 Linux VM
- SSH access with sudo privileges
- At least 2 GB RAM for a practical Docker host
- A clean Ubuntu environment without conflicting Docker packages
This workflow was tested on a Raff VM with 2 vCPU, 2 GB RAM, and Ubuntu 24.04.4 LTS. Minor Ubuntu 24.04 point releases are acceptable.
Step 1 — Update Ubuntu and install prerequisites
Update the package index and install the packages required for Docker’s official APT repository.
sudo apt update

sudo env DEBIAN_FRONTEND=noninteractive NEEDRESTART_MODE=a apt upgrade -y \
  -o Dpkg::Options::=--force-confdef \
  -o Dpkg::Options::=--force-confold

sudo apt install -y ca-certificates curl gnupg lsb-release
📌 Note: If Ubuntu asks what to do with a modified
/etc/ssh/sshd_configfile, keep the local version currently installed. This preserves your existing SSH login configuration.
Verify the Ubuntu version:
lsb_release -ds
Expected output:
Ubuntu 24.04.4 LTS
Step 2 — Remove conflicting Docker packages
Ubuntu may already have unofficial or conflicting Docker packages installed. Remove them before installing Docker Engine from Docker’s repository.
for pkg in docker.io docker-doc docker-compose docker-compose-v2 podman-docker containerd runc; do
  sudo apt remove -y "$pkg" 2>/dev/null || true
done
This command does not delete existing Docker data stored in /var/lib/docker. If this is not a fresh VM, review your containers, images, volumes, and backup plan before continuing.
Verify whether the Docker CLI is already present:
docker --version
Expected output on a fresh VM:
Command 'docker' not found
Step 3 — Add Docker’s official APT repository
Docker supports Ubuntu 24.04 LTS and recommends installing Docker Engine through its official APT repository. The commands below follow Docker’s current Ubuntu installation method.
Create the APT keyring directory:
sudo install -m 0755 -d /etc/apt/keyrings
Download Docker’s official GPG key:
sudo curl -fsSL https://download.docker.com/linux/ubuntu/gpg \
  -o /etc/apt/keyrings/docker.asc
Make the key readable by APT:
sudo chmod a+r /etc/apt/keyrings/docker.asc
Add Docker’s repository:
sudo tee /etc/apt/sources.list.d/docker.sources > /dev/null <<EOF
Types: deb
URIs: https://download.docker.com/linux/ubuntu
Suites: $(. /etc/os-release && echo "${UBUNTU_CODENAME:-$VERSION_CODENAME}")
Components: stable
Architectures: $(dpkg --print-architecture)
Signed-By: /etc/apt/keyrings/docker.asc
EOF
Update the package index:
sudo apt update
Verify that APT can see the official Docker package:
apt-cache policy docker-ce | sed -n '1,12p'
Expected output includes:
docker-ce:
  Candidate:
  Version table:
The candidate version changes as Docker publishes stable releases.
Step 4 — Install Docker Engine and Docker Compose
Install Docker Engine, the Docker CLI, containerd, Buildx, and the Docker Compose plugin:
sudo apt install -y docker-ce docker-ce-cli containerd.io docker-buildx-plugin docker-compose-plugin
Verify Docker Engine:
docker --version
Expected output follows this format:
Docker version 29.x.x, build xxxxxxx
Verify Docker Compose:
docker compose version
Expected output follows this format:
Docker Compose version v5.x.x
Your installed versions may be newer than these examples.
Step 5 — Verify the Docker service
Docker normally starts automatically after installation on Ubuntu. Confirm that the service is active:
systemctl is-active docker
Expected output:
active
View the full service state:
sudo systemctl status docker --no-pager
Expected output includes:
Active: active (running)
Verify that Docker can communicate with the daemon:
sudo docker ps
Expected output on a fresh installation:
CONTAINER ID IMAGE COMMAND CREATED STATUS PORTS NAMES
An empty container list is normal.
Step 6 — Run the Docker hello-world test
Run Docker’s official test image:
sudo docker run --rm hello-world
Expected output includes:
Hello from Docker!
This message shows that your installation appears to be working correctly.
This verifies that Docker can contact the registry, download an image, create a container, run it, and return its output.
Step 7 — Run a practical Nginx container test
Run a temporary Nginx container and bind it only to the VM’s loopback interface:
sudo docker rm -f test-nginx 2>/dev/null || true
sudo docker run -d --name test-nginx -p 127.0.0.1:8080:80 nginx:alpine
Binding to 127.0.0.1 prevents the test container from being exposed directly to the public internet.
Verify that the container is running:
sudo docker ps --filter name=test-nginx
Expected output includes:
test-nginx
Up
127.0.0.1:8080->80/tcp
Test the container from the VM:
curl -I http://127.0.0.1:8080
Expected output includes:
HTTP/1.1 200 OK
Server: nginx
To view the page in your local browser, open a second terminal on your computer and create an SSH tunnel:
ssh -L 8080:127.0.0.1:8080 your_user@your_server_ip
Keep that SSH session open, then visit:
http://localhost:8080
Visible state check:
The browser shows the default Nginx welcome page.
The page is served by the Docker container through the SSH tunnel.
The URL is http://localhost:8080.
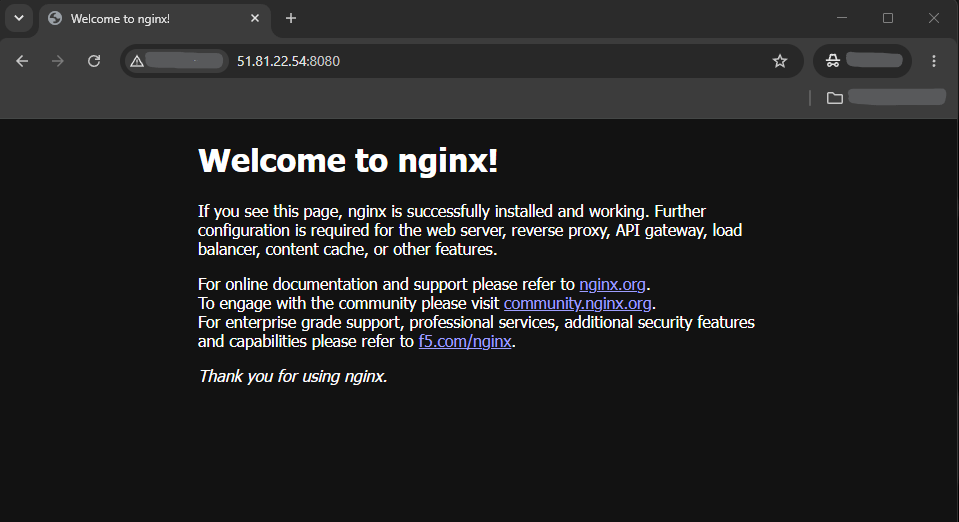
The test is successful when the browser shows the Nginx welcome page and the local curl command returns HTTP/1.1 200 OK.
⚠️ Docker firewall warning: Publishing a container with
-p 8080:80on all interfaces can bypass rules managed by UFW. Bind private services to127.0.0.1, use an external cloud firewall, or manage filtering through Docker’sDOCKER-USERchain.
Step 8 — Configure non-root Docker access
Docker commands require sudo by default. On a personal VM, you can add your user to the docker group:
sudo usermod -aG docker "$USER"
Apply the new group in the current shell:
newgrp docker
Verify Docker without sudo:
docker ps
Expected output includes the running test-nginx container.
⚠️ Warning: The
dockergroup grants root-equivalent access to the host. Add only trusted users. On shared servers, continue usingsudo dockeror evaluate Docker’s rootless mode.
Docker documents this permission model in its Linux post-installation guidance.
Step 9 — Verify the complete Docker installation
Run the final verification sequence:
echo "Docker Engine:"
docker --version || sudo docker --version

echo "Docker Compose:"
docker compose version || sudo docker compose version

echo "Docker service:"
systemctl is-active docker

echo "Running containers:"
sudo docker ps --filter name=test-nginx

echo "Nginx response:"
curl -I http://127.0.0.1:8080
Expected output includes:
Docker version
Docker Compose version
active
test-nginx
HTTP/1.1 200 OK
The installation is complete when Docker Engine and Docker Compose are available, the service is active, hello-world runs successfully, and the Nginx container returns an HTTP response.