
In this tutorial, you’ll deploy Uptime Kuma with Docker on a Raff Ubuntu 24.04 VM, place it behind Caddy for HTTPS, create the first admin account, and verify a live monitor in the dashboard.
Uptime Kuma is a self-hosted monitoring dashboard for checking websites, APIs, servers, and services. This tutorial runs Uptime Kuma in Docker Compose, binds the container to localhost, and exposes the dashboard securely through Caddy instead of publishing Uptime Kuma directly on port 3001. Raff Technologies has supported 10,000+ VM deployments across its compute platform, and Raff Linux VMs can be provisioned in 60 seconds with NVMe storage and unmetered bandwidth.
This tutorial is designed for a Raff Ubuntu 24.04 VM with at least 1 vCPU, 1 GB RAM, and 25 GB NVMe storage.
Technical review prepared for Raff infrastructure by Aybars Altınyay, platform engineer at Raff Technologies.
Prerequisites:
- A Raff Ubuntu 24.04 VM
- SSH access with sudo privileges
- A domain or subdomain pointed to your VM’s public IPv4 address
- Ports
80/tcpand443/tcpavailable on the VM - Basic familiarity with Docker and Linux terminal commands
📌 Note: Replace
status.your-domain.comthroughout this tutorial with your own domain or subdomain.
Step 1 — Update system packages
Update the Ubuntu package index and install the tools required for Docker, Caddy, DNS checks, and firewall management:
sudo apt update
sudo apt upgrade -y
sudo apt install -y curl wget nano ca-certificates gnupg debian-keyring debian-archive-keyring apt-transport-https dnsutils ufw
Verify that package upgrades are complete:
sudo apt list --upgradable
Expected output:
Listing... Done
Step 2 — Install Docker and Docker Compose
Install Docker and Docker Compose v2 from the Ubuntu package repository:
sudo apt install -y docker.io docker-compose-v2
sudo systemctl enable --now docker
Verify the installation:
sudo docker --version
sudo docker compose version
systemctl status docker --no-pager
Expected output includes:
Docker version
Docker Compose version
Active: active (running)
Step 3 — Install Caddy for HTTPS reverse proxy
Add the Caddy repository key:
curl -1sLf 'https://dl.cloudsmith.io/public/caddy/stable/gpg.key' | \
  sudo gpg --dearmor -o /usr/share/keyrings/caddy-stable-archive-keyring.gpg
Add the Caddy stable repository:
curl -1sLf 'https://dl.cloudsmith.io/public/caddy/stable/debian.deb.txt' | \
  sudo tee /etc/apt/sources.list.d/caddy-stable.list
Make the keyring and repository file readable by APT:
sudo chmod o+r /usr/share/keyrings/caddy-stable-archive-keyring.gpg
sudo chmod o+r /etc/apt/sources.list.d/caddy-stable.list
Install Caddy:
sudo apt update
sudo apt install -y caddy
Verify Caddy:
caddy version
systemctl status caddy --no-pager
Expected output includes:
Active: active (running)
Step 4 — Point your domain and configure the firewall
Create an A record at your DNS provider:
Type: A
Name: status.your-domain.com
Value: your-server-ip
TTL: Auto or 300
Replace your-server-ip with your Raff VM’s public IPv4 address.
Verify DNS from the VM:
dig +short status.your-domain.com
Expected output:
your-server-ip
Allow SSH, HTTP, and HTTPS traffic. Block direct public access to Uptime Kuma’s internal port:
sudo ufw allow 22/tcp
sudo ufw allow 80/tcp
sudo ufw allow 443/tcp
sudo ufw deny 3001/tcp
sudo ufw --force enable
Verify the firewall rules:
sudo ufw status numbered
Expected output includes:
22/tcp     ALLOW IN
80/tcp     ALLOW IN
443/tcp    ALLOW IN
3001/tcp   DENY IN
Step 5 — Create the Uptime Kuma Docker Compose project
Create a project directory:
sudo mkdir -p /opt/uptime-kuma
cd /opt/uptime-kuma
Create the Docker Compose file:
sudo nano docker-compose.yml
Paste this configuration:
services:
  uptime-kuma:
    image: louislam/uptime-kuma:2
    container_name: uptime-kuma
    restart: unless-stopped
    ports:
      - "127.0.0.1:3001:3001"
    volumes:
      - ./uptime-kuma-data:/app/data
This configuration keeps Uptime Kuma available only on 127.0.0.1:3001 from the VM itself. Caddy will handle public HTTPS access in a later step.
Validate the Compose file:
sudo docker compose config
Expected output includes:
services:
  uptime-kuma:
Step 6 — Start Uptime Kuma
Start the Uptime Kuma container:
cd /opt/uptime-kuma
sudo docker compose up -d
Verify that the container is running:
sudo docker compose ps
Expected output includes:
uptime-kuma Up
Verify local access from the VM:
curl -I http://127.0.0.1:3001
Expected output includes an HTTP response from Uptime Kuma, such as:
HTTP/1.1 200 OK
or:
HTTP/1.1 302 Found
Step 7 — Configure Caddy as a HTTPS reverse proxy
Back up the default Caddyfile:
sudo cp /etc/caddy/Caddyfile /etc/caddy/Caddyfile.bak
Open the Caddyfile:
sudo nano /etc/caddy/Caddyfile
Replace the file contents with:
status.your-domain.com {
    reverse_proxy 127.0.0.1:3001
}
Replace status.your-domain.com with your real domain or subdomain.
Validate the Caddyfile:
sudo caddy validate --config /etc/caddy/Caddyfile
Expected output includes:
Valid configuration
Reload Caddy:
sudo systemctl reload caddy
Verify HTTPS access:
curl -I https://status.your-domain.com
Expected output includes:
HTTP/2 200
or:
HTTP/1.1 200 OK
Verify that direct public access to port 3001 is not required:
sudo ss -lntp | grep 3001
Expected output includes:
127.0.0.1:3001
Step 8 — Create the Uptime Kuma admin account
Open Uptime Kuma in your browser:
https://status.your-domain.com
The first screen asks you to create an admin account.
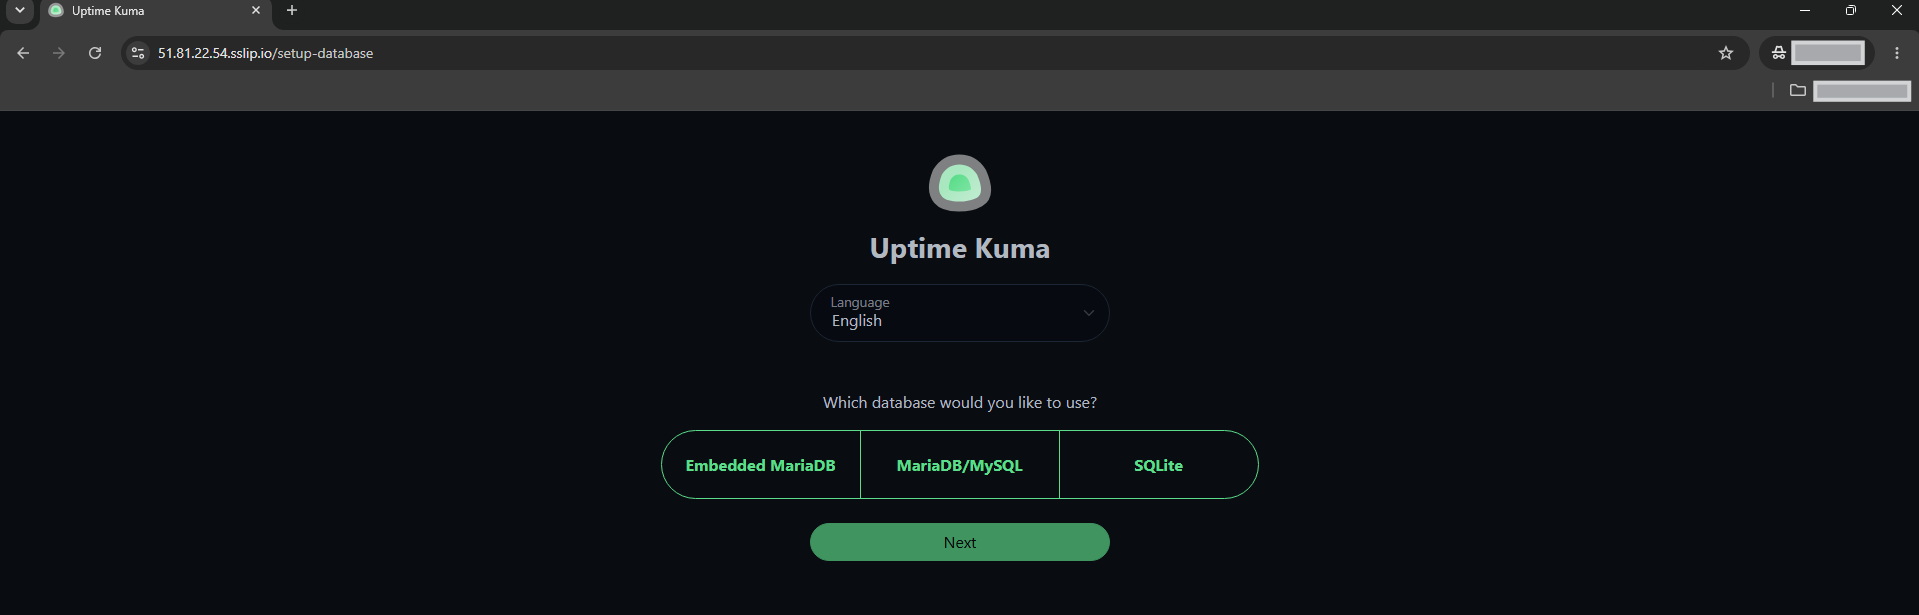
Create the admin account with a strong password.
After login, verify that the Uptime Kuma dashboard loads.
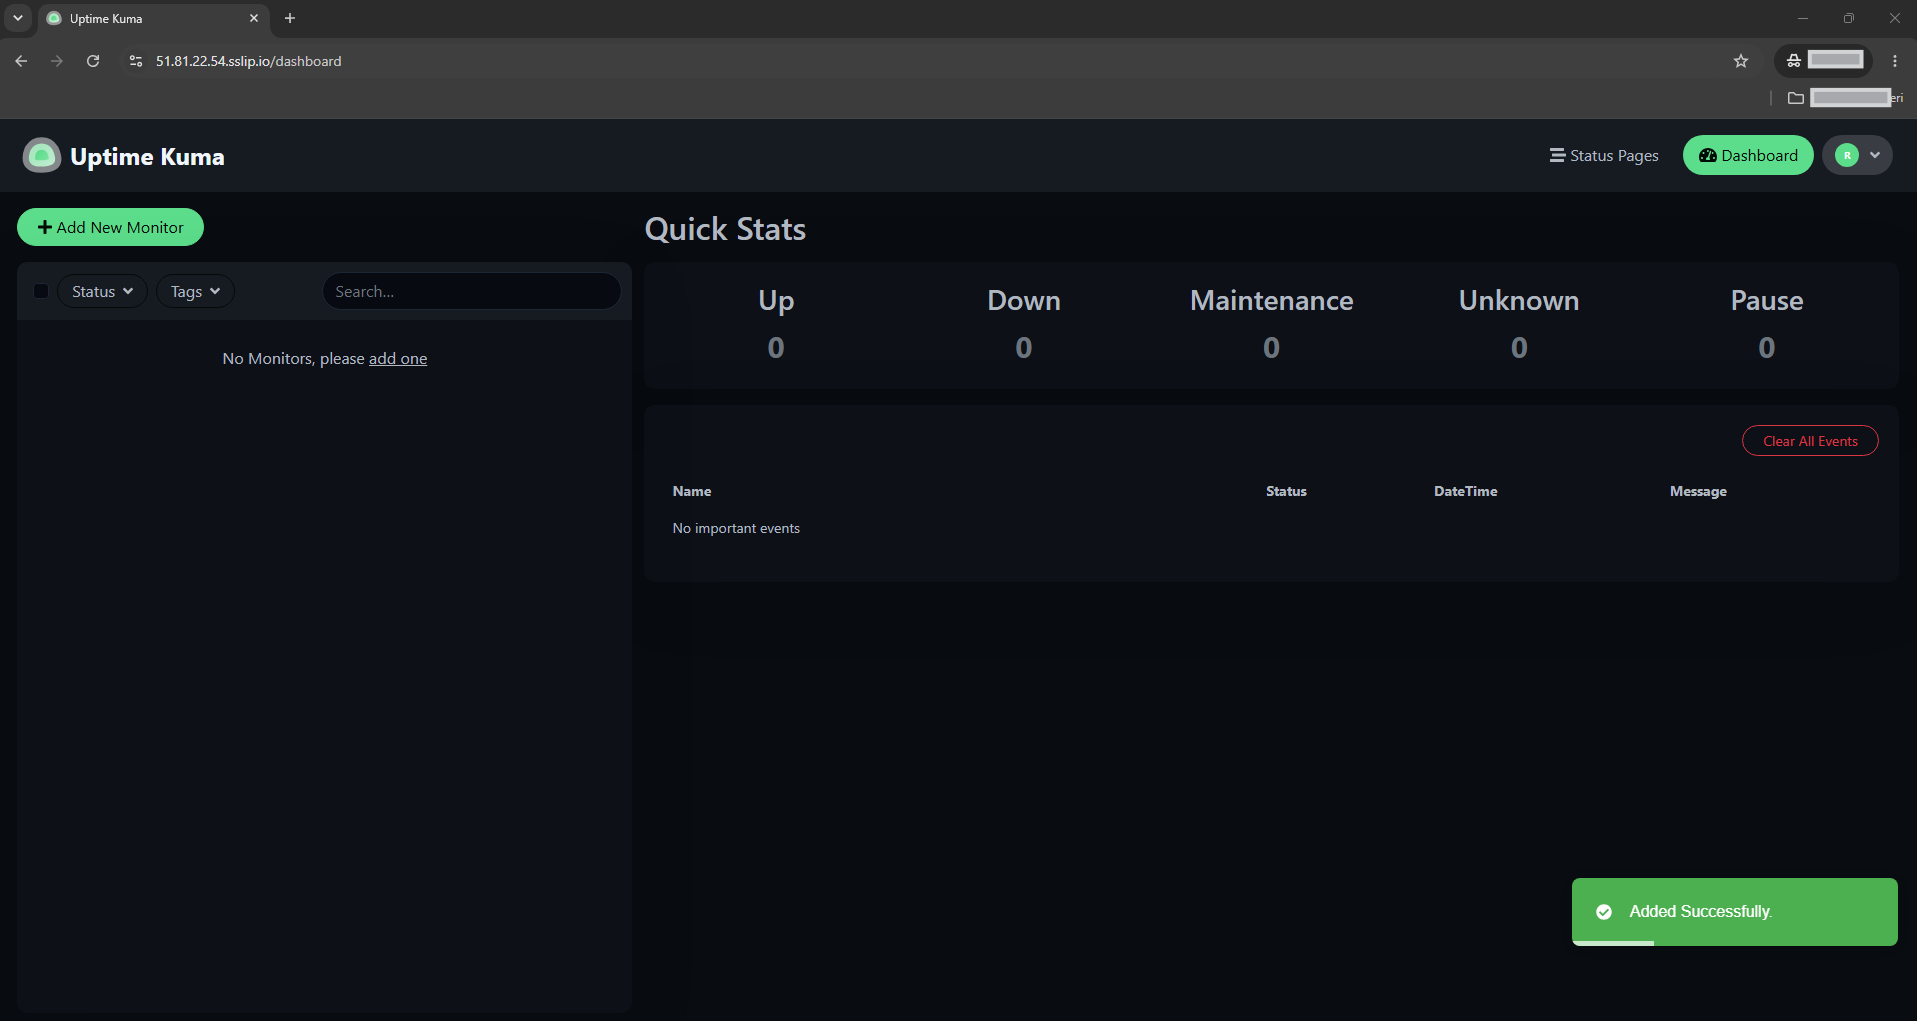
Visible state check: Uptime Kuma opens over HTTPS, the admin account is created, and the dashboard loads successfully.
Step 9 — Add your first HTTP monitor
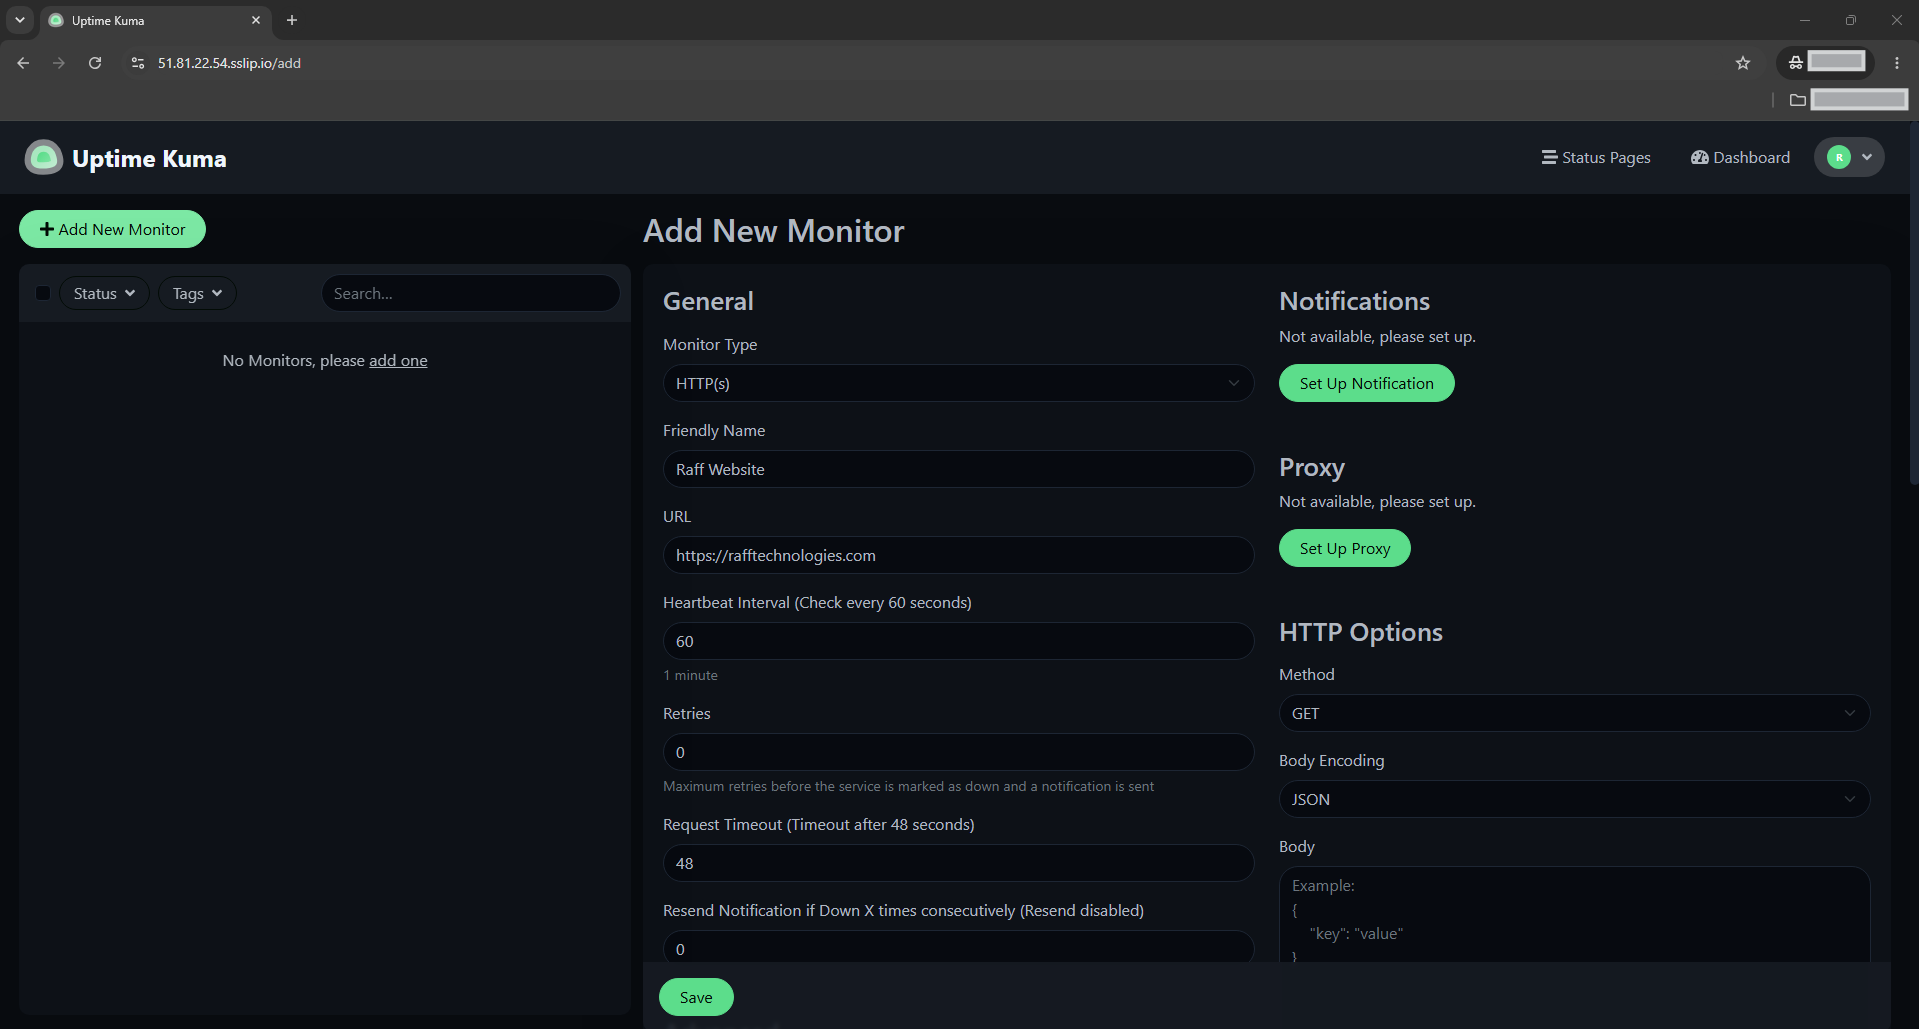
In Uptime Kuma, click Add New Monitor.
Use this starter configuration:
Monitor Type: HTTP(s)
Friendly Name: Raff Website
URL: https://rafftechnologies.com
Heartbeat Interval: 60 seconds
Retries: 1
Accepted Status Codes: 200-299
Click Save.
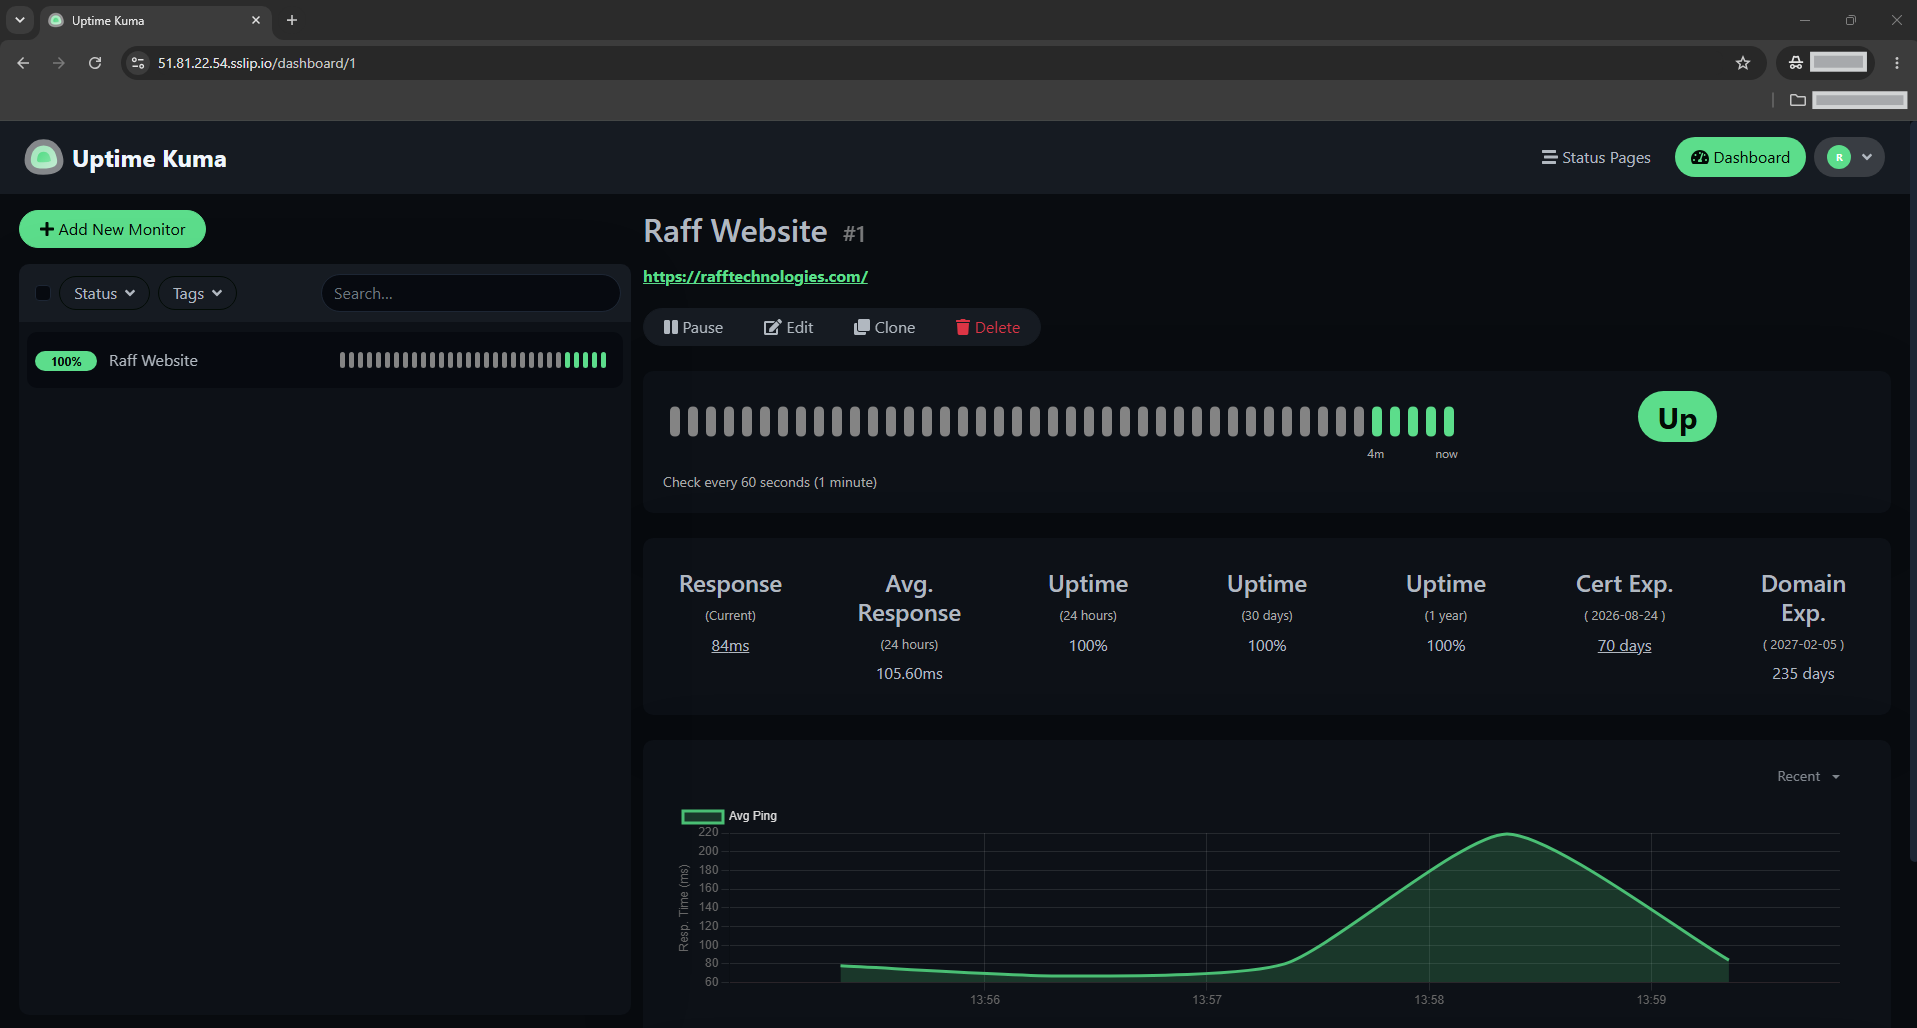
Wait for the first check to run. The monitor should move to Up if the target responds successfully.
Verify the container logs from the VM:
cd /opt/uptime-kuma
sudo docker logs uptime-kuma --tail=80
Expected output: Uptime Kuma should remain running without repeated restart loops or database errors.
Step 10 — Verify Uptime Kuma end to end
Return to the Uptime Kuma dashboard and confirm that the new monitor shows an Up status.
Click the browser security icon next to the address bar and confirm that the connection is secure.
Verify the services from the VM:
systemctl is-active docker
systemctl is-active caddy
sudo docker ps --filter name=uptime-kuma
curl -I https://status.your-domain.com
sudo ufw status numbered
End-to-end verification is complete when:
- Docker is active
- Caddy is active
- Uptime Kuma is running in Docker
- The dashboard loads over HTTPS
- The admin account can log in
- The monitor appears in the dashboard
- The monitor shows
Up - Uptime Kuma listens only on
127.0.0.1:3001 - Public traffic uses ports
80and443
Cleanup (Optional)
Use this section only when you want to remove Uptime Kuma, its database, Docker Compose files, Caddy proxy configuration, certificates, and firewall rules from the VM.
⚠️ Warning: The following commands permanently delete Uptime Kuma data, monitors, users, notifications, status pages, and local dashboard history. Back up anything you need before proceeding.
Stop and remove Uptime Kuma:
cd /opt/uptime-kuma
sudo docker compose down
Remove Uptime Kuma data:
sudo rm -rf /opt/uptime-kuma
Restore the previous Caddyfile if you backed it up:
if [ -f /etc/caddy/Caddyfile.bak ]; then
  sudo cp /etc/caddy/Caddyfile.bak /etc/caddy/Caddyfile
  sudo caddy validate --config /etc/caddy/Caddyfile
  sudo systemctl reload caddy
fi
If this VM was used only for Uptime Kuma, remove Caddy:
sudo systemctl stop caddy
sudo systemctl disable caddy
sudo apt remove --purge caddy -y
sudo rm -rf /etc/caddy
sudo rm -rf /var/lib/caddy
sudo rm -rf /var/log/caddy
sudo rm -f /etc/apt/sources.list.d/caddy-stable.list
sudo rm -f /usr/share/keyrings/caddy-stable-archive-keyring.gpg
Remove Docker only if this VM no longer needs containers:
sudo apt remove --purge docker.io docker-compose-v2 -y
sudo apt autoremove -y
Remove firewall rules only if this VM no longer serves HTTPS traffic:
sudo ufw delete allow 80/tcp
sudo ufw delete allow 443/tcp
sudo ufw delete deny 3001/tcp
sudo ufw status numbered
Verify that the Uptime Kuma container is gone:
sudo docker ps -a --filter name=uptime-kuma
Expected output: no Uptime Kuma container is listed.
Troubleshooting
Uptime Kuma container does not start
Cause: Docker is not running, the Compose file has a syntax error, or the data directory permissions are broken.
Fix:
cd /opt/uptime-kuma
sudo docker compose config
sudo systemctl status docker --no-pager
sudo docker compose logs --tail=100
Restart the stack:
sudo docker compose up -d
Verify:
sudo docker compose ps
Expected output includes:
uptime-kuma Up
The browser cannot open Uptime Kuma
Cause: Caddy is not running, DNS does not point to the VM, ports 80 and 443 are blocked, or Uptime Kuma is not listening locally.
Fix:
dig +short status.your-domain.com
sudo ufw status numbered
systemctl status caddy --no-pager
sudo docker compose -f /opt/uptime-kuma/docker-compose.yml ps
curl -I http://127.0.0.1:3001
Expected checks:
DNS returns your VM public IPv4 address
80/tcp is allowed
443/tcp is allowed
Caddy is active
Uptime Kuma is Up
Local port 3001 returns an HTTP response
HTTPS certificate issuance fails
Cause: DNS has not propagated, another service is using ports 80 or 443, or the firewall blocks HTTP/HTTPS.
Fix:
dig +short status.your-domain.com
sudo ss -lntp | grep -E ':80|:443'
sudo journalctl -u caddy --no-pager -n 100
Expected state:
DNS points to your VM
Caddy listens on ports 80 and 443
Caddy logs do not show certificate challenge failures
If another web server is using ports 80 or 443, stop it before reloading Caddy:
sudo systemctl stop nginx
sudo systemctl stop apache2
sudo systemctl reload caddy
Only stop services that are installed and safe to stop on your VM.
Uptime Kuma loads but the page does not update correctly
Cause: The reverse proxy is not handling WebSocket traffic correctly, or the browser is using a stale session.
Fix:
Caddy’s reverse_proxy handles WebSocket traffic automatically. Validate and reload Caddy:
sudo caddy validate --config /etc/caddy/Caddyfile
sudo systemctl reload caddy
Then hard refresh the browser:
CTRL + F5
If the issue persists, check logs:
sudo journalctl -u caddy --no-pager -n 80
sudo docker logs uptime-kuma --tail=80
Monitor stays down
Cause: The monitored URL is incorrect, the target site blocks requests, DNS fails from the VM, or the accepted status code range is too narrow.
Fix:
Test the URL from the VM:
curl -I https://rafftechnologies.com
Expected output includes:
200 OK
In Uptime Kuma, confirm:
Monitor Type: HTTP(s)
URL: https://rafftechnologies.com
Accepted Status Codes: 200-299
Save the monitor and wait for the next heartbeat.
You forgot the admin password
Cause: The admin password is stored in the Uptime Kuma data directory.
Fix:
Use Uptime Kuma’s documented password reset flow for your installed version. Before resetting, back up the data directory:
cd /opt/uptime-kuma
sudo tar -czf uptime-kuma-backup-before-password-reset.tar.gz uptime-kuma-data
Then follow the official password reset instructions for Uptime Kuma v2.
Conclusion and next steps
You now have Uptime Kuma running with Docker on a Raff Ubuntu 24.04 VM, exposed through HTTPS with Caddy and protected from direct public access on port 3001. You also created an admin account, added an HTTP monitor, and verified that the monitor reports an Up status in the dashboard. If you have not deployed your Raff VM yet, you can spin one up in 60 seconds at rafftechnologies.com.
Next: How to Install Caddy Web Server on Ubuntu 24.04
Related: How to Install Docker on Ubuntu 24.04