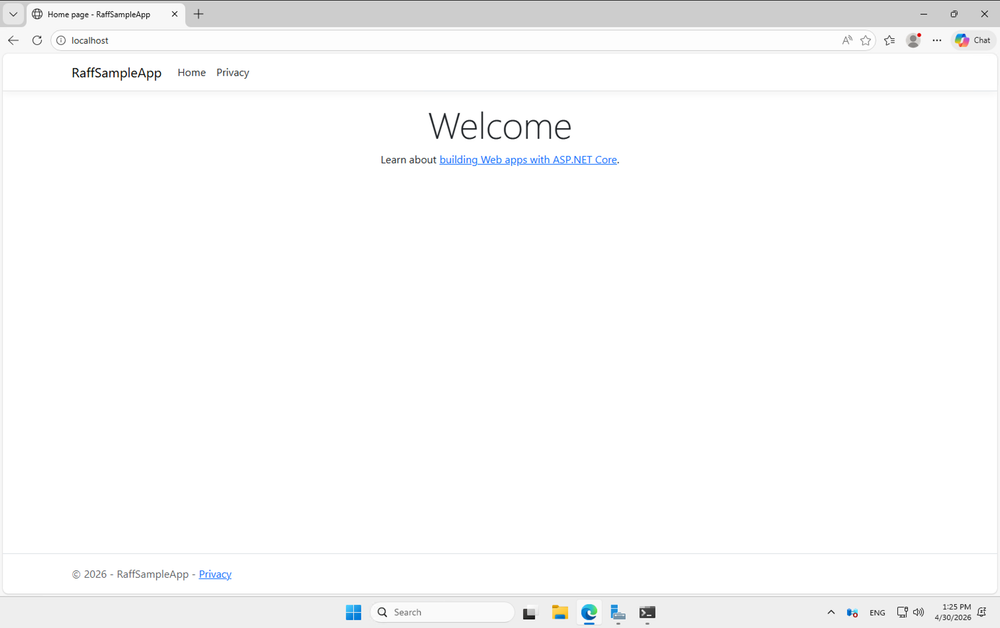
In short
The .NET 10 Hosting Bundle is the Windows installer you need when hosting ASP.NET Core 10 behind IIS. It installs the .NET Runtime, ASP.NET Core Runtime, and ASP.NET Core Module V2 (ANCM) so IIS can start and route requests to your application.
If you already have a Windows Server and only need the bundle, use Microsoft's official .NET 10 download page or install it with WinGet:
winget install --id Microsoft.DotNet.HostingBundle.10 --silent --accept-source-agreements --accept-package-agreements
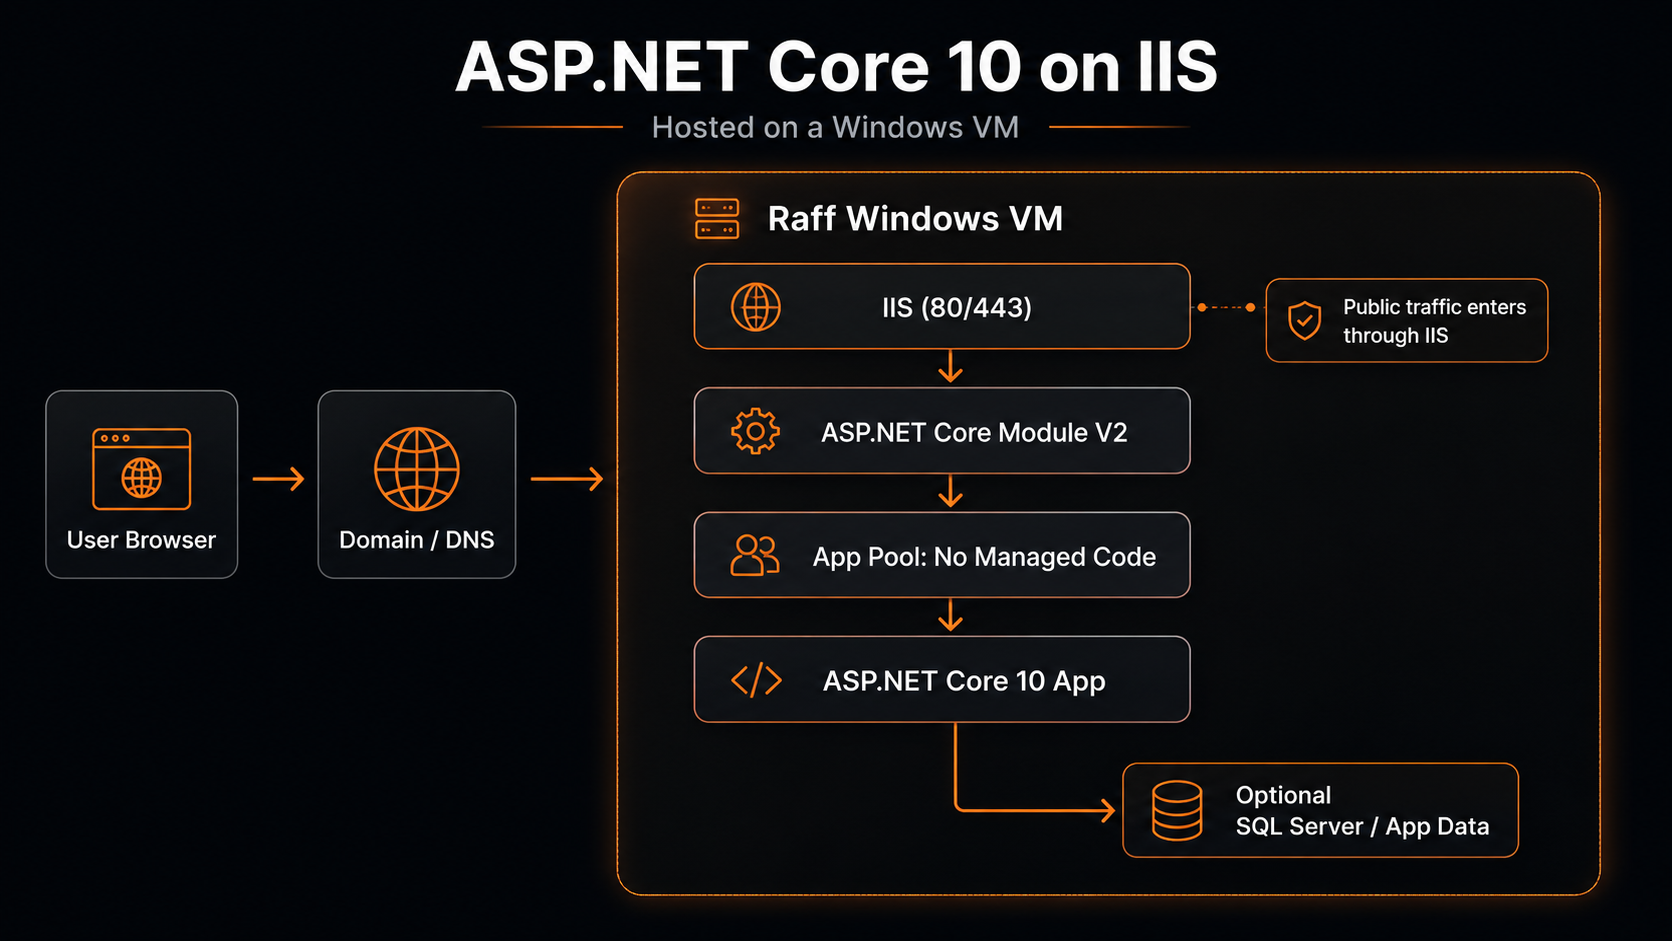
For a full deployment, install IIS first, install the Hosting Bundle, publish your application, create a dedicated IIS site and app pool, and expose the site through IIS on ports 80 and 443. For ASP.NET Core app pools, Microsoft recommends No Managed Code, although the setting is optional rather than a requirement for the application to start.
Browser → Windows Server → IIS → ASP.NET Core Module V2 → ASP.NET Core 10 app
.NET 10 Hosting Bundle download for Windows Server
Download the .NET 10 Hosting Bundle from Microsoft's official .NET 10 download page: open the ASP.NET Core Runtime section and choose Hosting Bundle for Windows. Use the bundle, not only the standalone runtime, because the Hosting Bundle installs the .NET runtime components plus ASP.NET Core Module V2 for IIS. Raff installed Hosting Bundle 10.0.7 on a 4 vCPU / 8 GB Windows Server 2025 VM on April 30, 2026 using the WinGet command below.
winget install --id Microsoft.DotNet.HostingBundle.10 --silent --accept-source-agreements --accept-package-agreements
After installation, verify that both the runtime and IIS integration are present:
dotnet --list-runtimes

Import-Module WebAdministration
Get-WebGlobalModule -Name "AspNetCoreModuleV2" | Format-Table Name, Image
You should see .NET 10 runtime entries and an AspNetCoreModuleV2 result.
What is included in the .NET 10 Hosting Bundle?
The Hosting Bundle is designed for running ASP.NET Core applications with IIS. It includes:
- the .NET Runtime
- the ASP.NET Core Runtime
- ASP.NET Core Module V2 for IIS integration
The SDK is separate. You only need the SDK on the server if you plan to create, build, or publish applications there.
| Component | What it is for | Needed on an IIS production server? |
|---|---|---|
| .NET Runtime | Runs framework-dependent .NET applications | Yes |
| ASP.NET Core Runtime | Runs ASP.NET Core applications | Yes |
| ASP.NET Core Module V2 | Connects IIS to the ASP.NET Core app | Yes |
| .NET SDK | Build, create, and publish commands | Only if you build on the server |
Who this guide is for
This guide is for developers and operators deploying an ASP.NET Core application to Windows Server with IIS. Typical use cases include internal applications, customer portals, APIs, line-of-business systems, and multiple ASP.NET Core sites hosted on one Windows VM.
For larger multi-server deployments, containers or a load-balanced architecture may fit better. The focus here is the common single-server or small-cluster IIS deployment pattern.
What you'll need
- Windows Server 2025 or Windows Server 2022
- Local administrator access through Remote Desktop Protocol (RDP)
- An ASP.NET Core application to deploy
- The .NET 10 Hosting Bundle
- Optional: a separate build machine or CI runner
- About 30-45 minutes for a first deployment
If you need help connecting first, see the RDP connection guide.
.NET 10 is an active LTS release
Microsoft's official .NET support policy lists .NET 10 as an active Long Term Support release through November 14, 2028. Patch versions change during monthly servicing, so install a currently supported .NET 10 patch rather than copying an old patch number from a tutorial.
Three distinctions matter for IIS:
- The Hosting Bundle and SDK are separate. The Hosting Bundle lets IIS run ASP.NET Core applications. The SDK is needed for
dotnet new,dotnet build, anddotnet publish. - ASP.NET Core Module V2 is part of the Hosting Bundle. IIS uses it to start and route requests to the application.
- No Managed Code is recommended, not mandatory. ASP.NET Core boots CoreCLR itself rather than relying on the classic desktop CLR configured for the IIS app pool.
Step 1 — Install the Web Server (IIS) role
Open PowerShell as administrator and run:
Install-WindowsFeature -Name `
    Web-Server, `
    Web-Common-Http, `
    Web-Static-Content, `
    Web-Default-Doc, `
    Web-Dir-Browsing, `
    Web-Http-Errors, `
    Web-App-Dev, `
    Web-Net-Ext45, `
    Web-AppInit, `
    Web-ISAPI-Ext, `
    Web-ISAPI-Filter, `
    Web-Health, `
    Web-Http-Logging, `
    Web-Performance, `
    Web-Stat-Compression, `
    Web-Security, `
    Web-Filtering, `
    Web-Mgmt-Tools, `
    Web-Mgmt-Console `
    -IncludeManagementTools
Verify IIS and its services:
Get-WindowsFeature -Name Web-Server | Format-Table Name, InstallState
Get-Service -Name W3SVC, WAS | Format-Table Name, Status, StartType
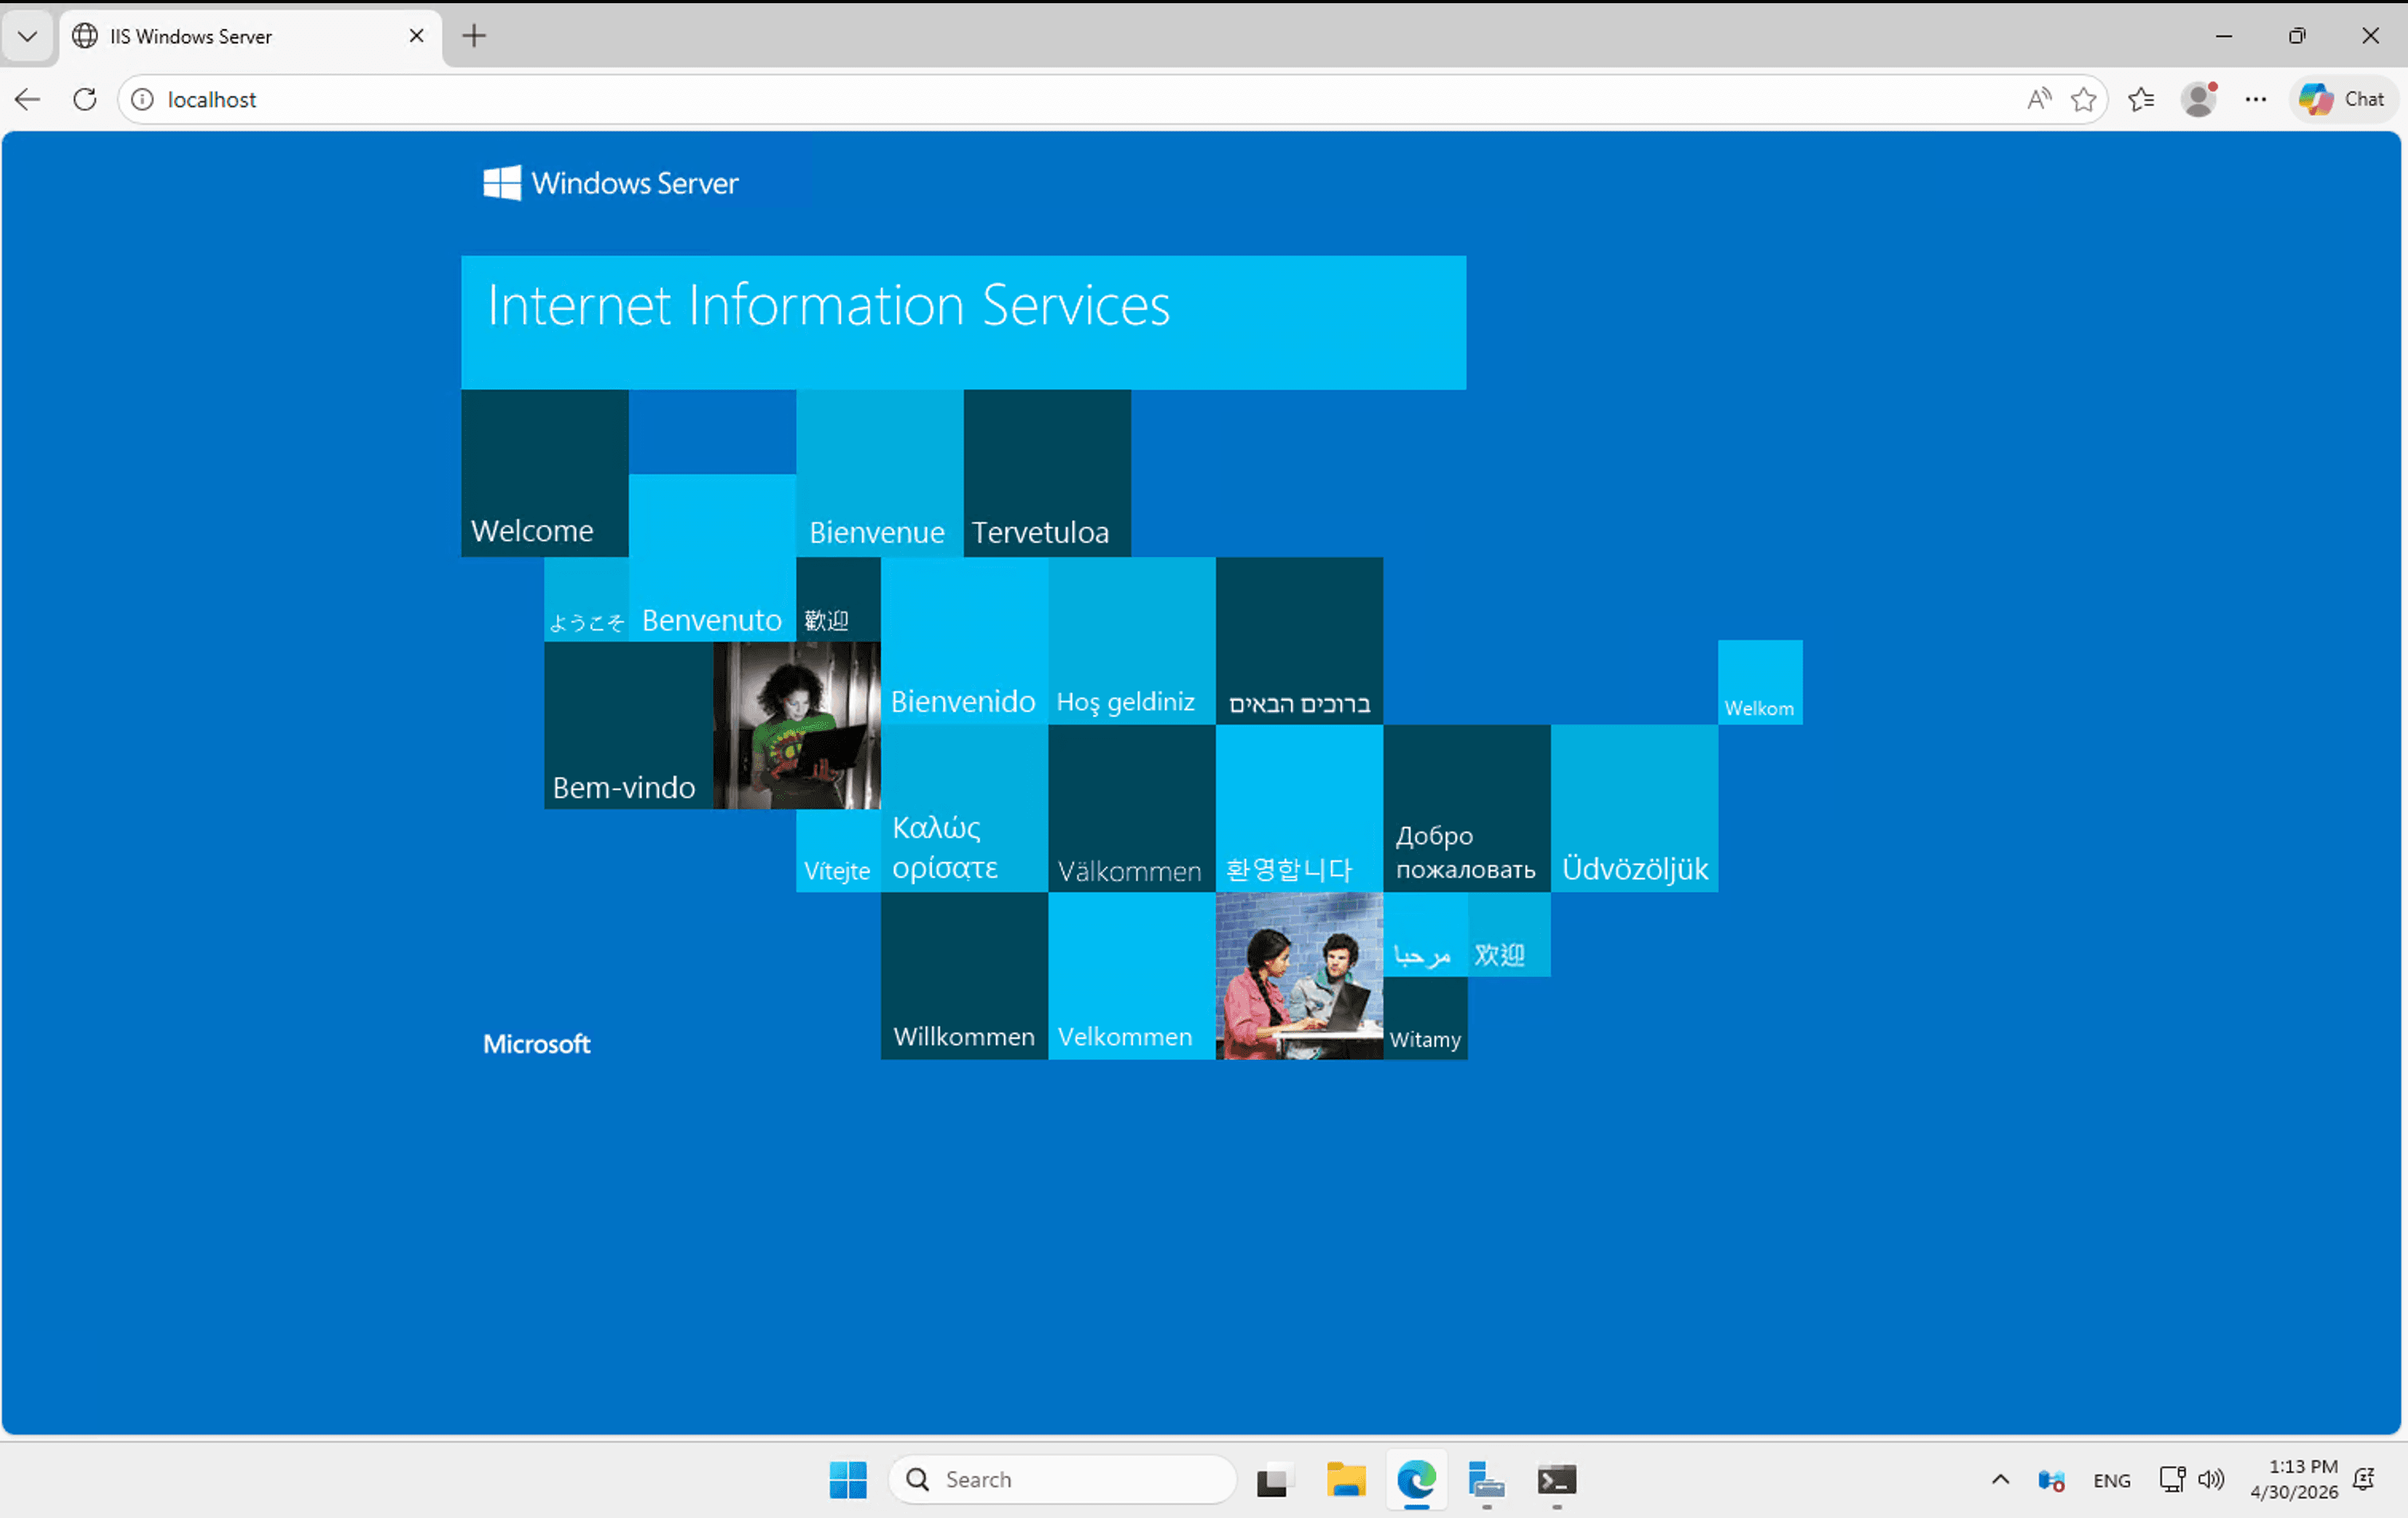
Then browse to http://localhost from Edge on the server.
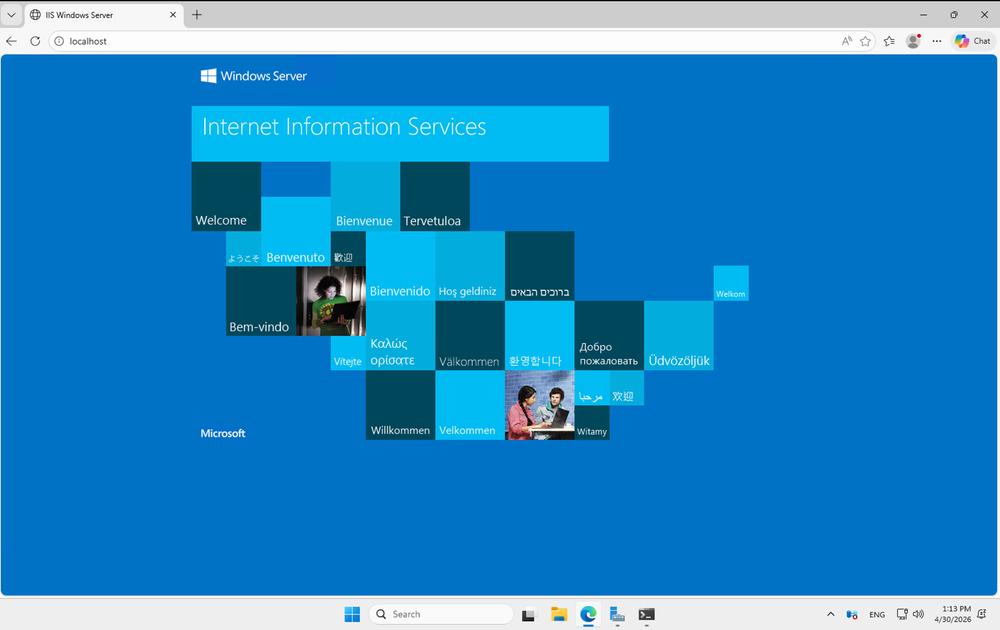
If the IIS welcome page loads, the web server is accepting local requests.
From our Raff test: IIS installed successfully on Windows Server 2025 without requiring a reboot. That is the observed result from the tested VM, not a guarantee for every Windows Server state.
Step 2 — Download and install the .NET 10 Hosting Bundle for IIS
The Hosting Bundle installs the .NET Runtime, ASP.NET Core Runtime, and ASP.NET Core Module V2.
The command used in the Raff test was:
winget install --id Microsoft.DotNet.HostingBundle.10 --silent --accept-source-agreements --accept-package-agreements
If WinGet is unavailable, download the Windows Hosting Bundle from Microsoft's official .NET 10 download page.
Install IIS before the Hosting Bundle
Install IIS first, then install the Hosting Bundle. If the Hosting Bundle was installed before IIS, Microsoft says to repair or run the Hosting Bundle again after IIS is present so ASP.NET Core Module V2 is registered correctly.
Refresh PATH and verify the runtime
$env:Path = [System.Environment]::GetEnvironmentVariable("Path", "Machine") + ";" + [System.Environment]::GetEnvironmentVariable("Path", "User")

dotnet --list-runtimes
You should see .NET 10 runtime entries similar to:
Microsoft.AspNetCore.App 10.0.x [C:\Program Files\dotnet\shared\Microsoft.AspNetCore.App]
Microsoft.NETCore.App 10.0.x [C:\Program Files\dotnet\shared\Microsoft.NETCore.App]
Verify ASP.NET Core Module V2:
Import-Module WebAdministration
Get-WebGlobalModule -Name "AspNetCoreModuleV2" | Format-Table Name, Image
If this returns nothing, repair or reinstall the Hosting Bundle as administrator after IIS is installed.
Step 3 — Restart IIS hosting services after the bundle install
The April 30 Raff test used iisreset, and it completed successfully:
iisreset
Microsoft's current IIS deployment guidance recommends either restarting the server or restarting Windows Process Activation Service and World Wide Web Publishing Service after installing or upgrading the Hosting Bundle:
net stop was /y
net start w3svc
Both approaches interrupt IIS-hosted applications. On a production server with existing sites, schedule the restart during a maintenance window.
Verify the services after the restart:
Get-Service -Name W3SVC, WAS | Format-Table Name, Status